Calibration Mode: Sensitivity Testing
Procedure
-
In the Song Meter Configurator app, open the Utilities
menu:
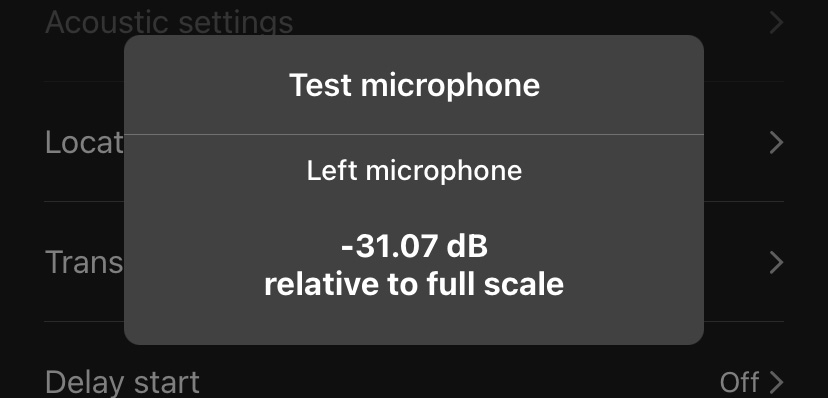
- In the Utilities menu, tap Test microphone.
- Close the lid of the Song Meter Mini Bat 2.
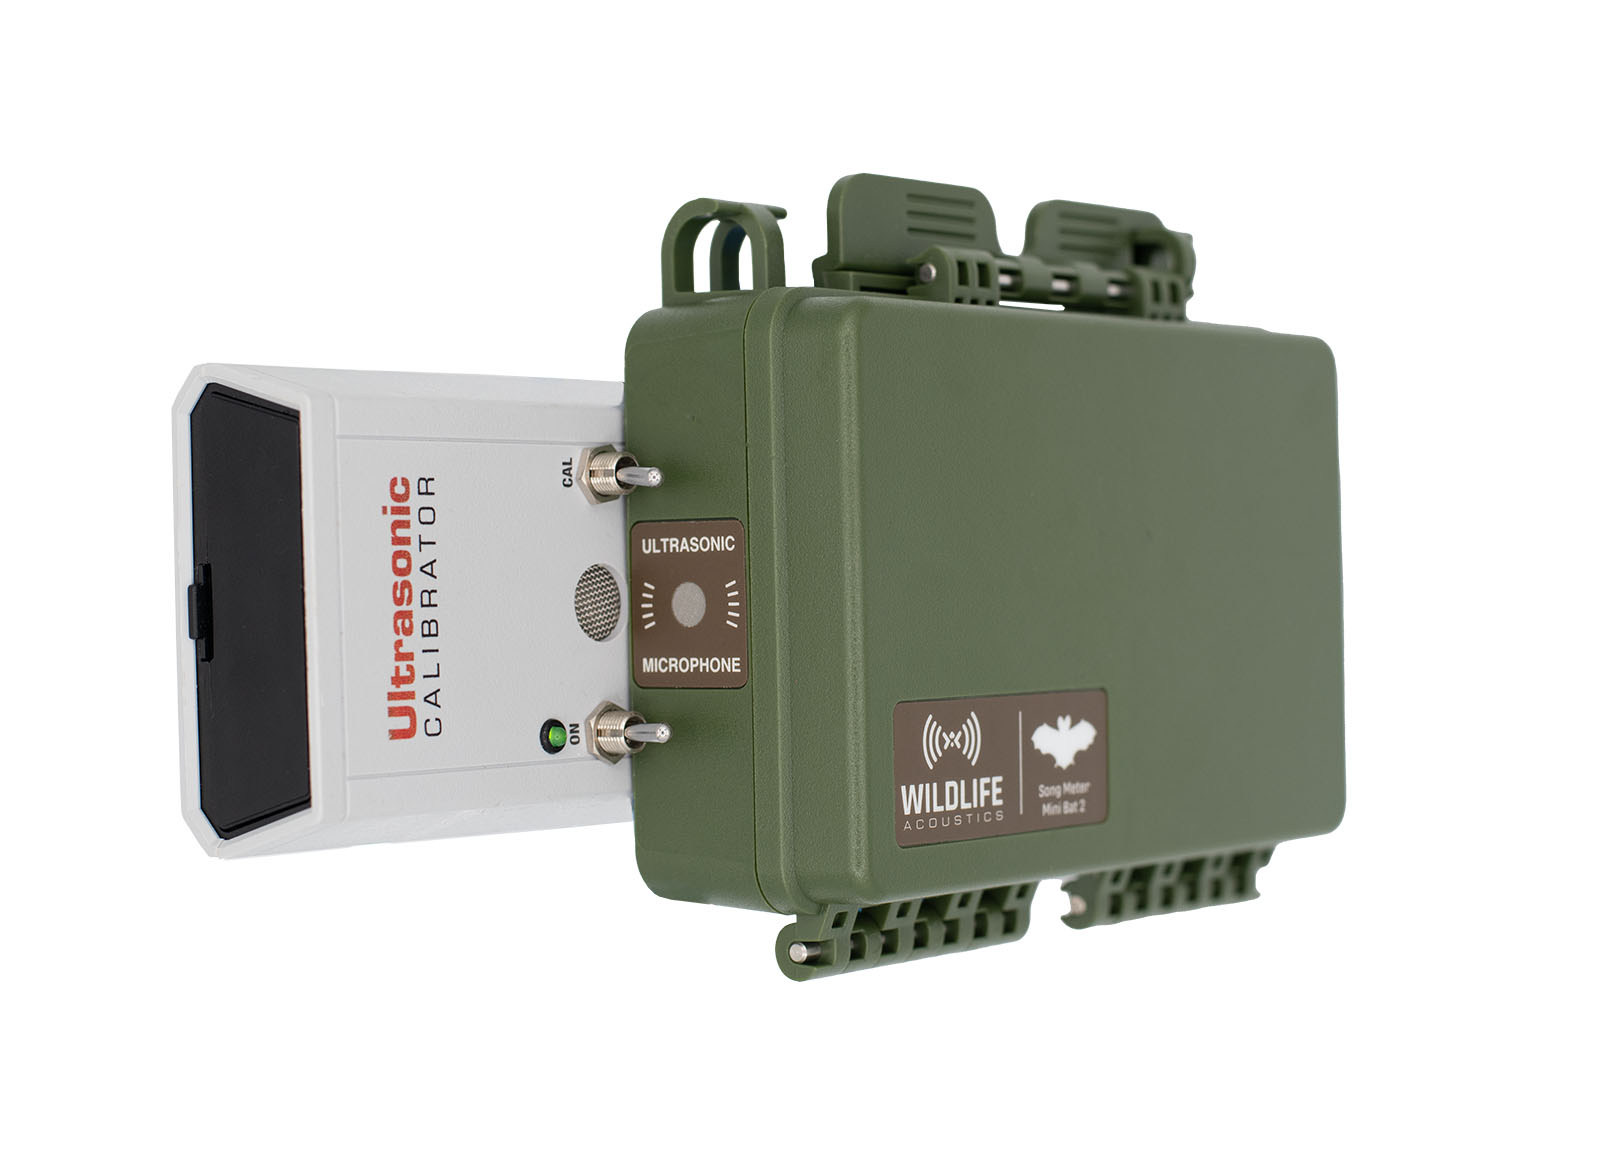
- Turn on the Ultrasonic Calibrator and toggle the mode switch to CAL.
-
Position the back of the Song Meter Mini Bat 2 against the front face of the
Ultrasonic Calibrator.
The left edge of the recorder should be touching the calibrator's two toggle switches, and the ultrasonic microphone should be centered over the calibrator's speaker grate.
-
Observe the amplitude reading in the Test microphone window.
If the value is higher than -32 dB, the microphone has passed and is ready to use. If
the value is lower, the microphone has lost some or all of its sensitivity and should
be replaced.
dBFS readings in the Test microphone window are negative numbers, so a "higher" value than -32 dB is one that is closer to 0 dB. For example, a reading of -20 dB would pass, while a reading of -40 dB would fail.