Connect to the SMART Control Panel for the First Time
When the SMART controller is brand new, you can use any computer to connect to its web interface over a local Wi-Fi connection. This allows you to explore the SMART system's settings, and it does not require specialized technical knowledge.
Before you begin
You will need the following:
- SMART Controller with Wi-Fi antennae and power supply
- Wi-Fi-enabled device with a web browser, such as a laptop computer
Procedure
- Connect the two included Wi-Fi antennae to SMART Controller via the two screw-on coaxial connectors.
-
Connect the SMART Controller to power.
- Plug the green plastic plug from the power supply into the port labeled IGN.
- Use a flat-blade screwdriver to secure the power plug to the SMART controller using the plug's two built-in bolts.
- Connect the power supply to AC power via the included IEC power cable.
The SMART Controller will power on automatically, and the Power LED will light up blue. Initial startup can take up to two minutes. -
From a nearby computer, search for Wi-Fi networks and connect to the SMART
Controller's Wi-Fi hotspot.
The SMART Controller's default Wi-Fi network name begins with
smartand ends with the SMART Controller's twelve-digit MAC address, without periods. For example,smart-1234567890ab.The SMART Controller's default Wi-Fi password iswildlife. -
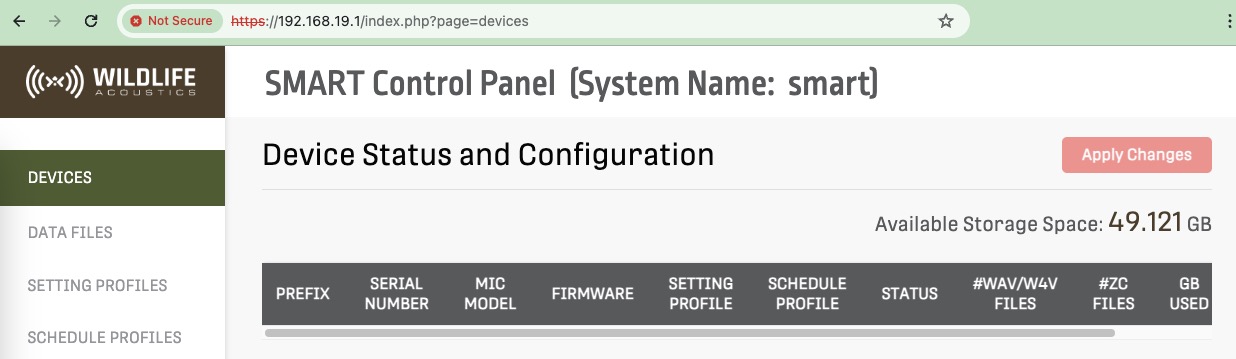
Open a web browser and enter https://192.168.19.1/ to navigate to the SMART
Controller's default IP address.
Your browser will prompt you with a Sign in window. The default login credentials are:
- Default Username:
smart - Default Password:
wildlife
Your browser may display a warning that your connection is not private. This is normal when connecting to a device like the SMART Controller with its default configuration. Select your browser's option to proceed anyway.
To avoid this warning in the future, ask your IT department to provide a signed SSL certificate and install it on the SMART Controller.
- Default Username:
Results